Previous: Day 6 – Arduino Sketch for Robot Control
To recap our connections will roughly look like this:
Your client PC -> Your Raspbery Pi (which contains Arduino Sketch) -> Motor Controller via USB cable -> 4 Servo Motors
First, you need to know if you get a response from your Pi. Log into your Pi via SSH, and use your favourite application to test your connection to the Arduino Sketch via serial console.
One of the following popular commands / applications can be used to connect to your serial console:
- cu command
- screen command
- minicom command
- putty command
- tip command
We installed minicom on the Pi.
sudo apt-get install minicom
To check which port available, run the following:
dmesg | egrep --color 'serial|ttyS'Set up minicom, and follow the options to send some input to the serial.
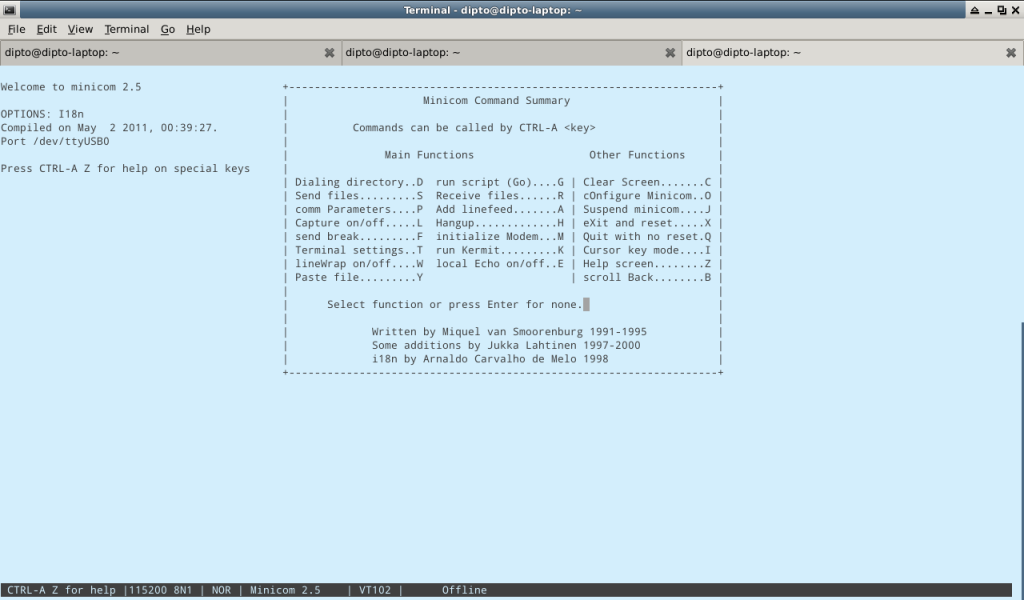
sudo minicom -s- Select “serial port setup”
- Change option A (device) to “/dev/ttyUSB0” (case sensitive!)
- And make sure that both hardware & software flow control are set to “NO”
- Go back to main menu and select “save as dfl” (saves as default setting)
- Select “exit” – and minicom should now launch.
 This basically shows that /dev/ttyUSB0 is ready for connection. You should see some text output from your Arduino device that you have set up in the device’s sketch.
In our Arduino sketch (from Day 6 tutorial) we have a serial listener that would respond to the following key strokes:
- a = left
- w = forward
- d = right
- s = stop
- x = backward
Try keying in the above characters. If the program in you controller device responds, it would forward the corresponding signals to the motor controller to move the wheels accordingly. You may have to do some debugging if the connection does not work.
Next: Day 8 – Tilt Servo for Hand Gripper (Claw)

