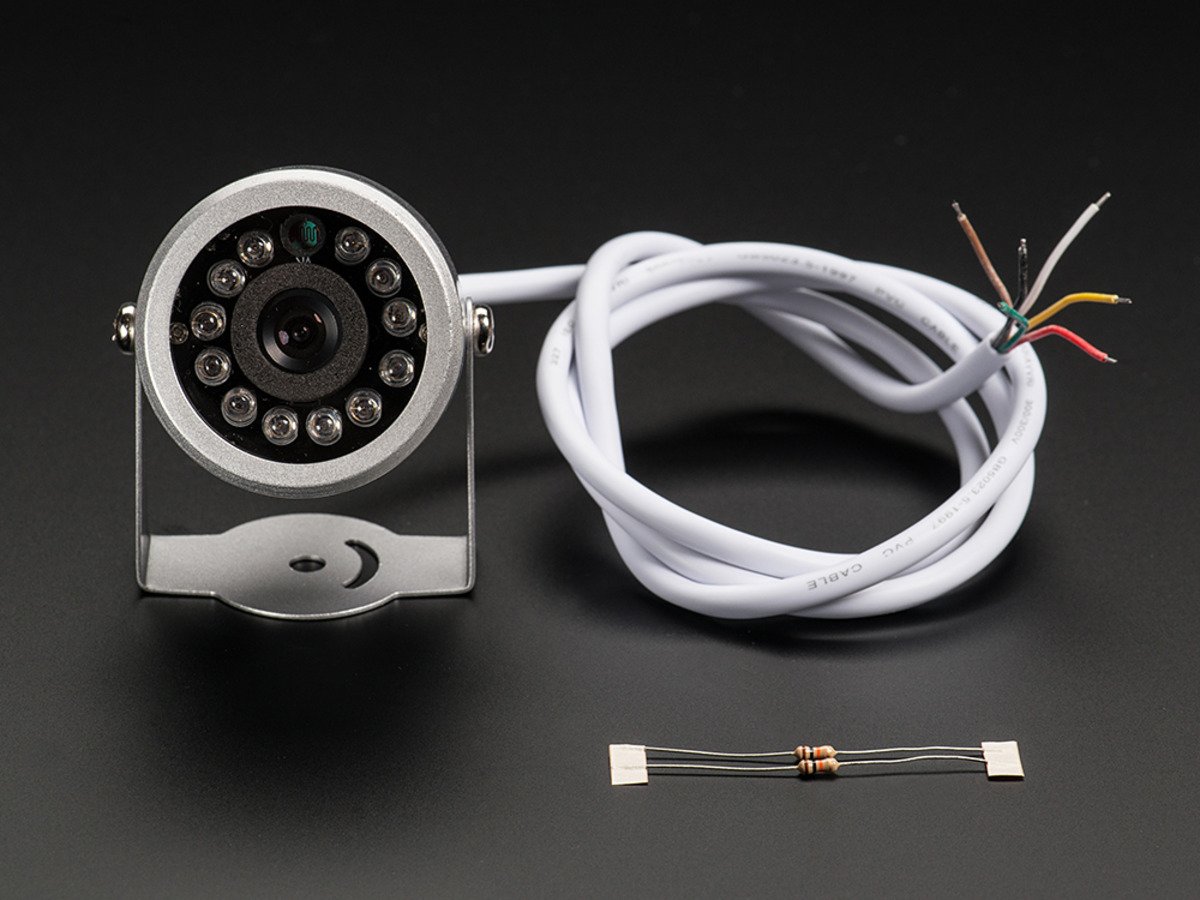
So you bought a serial infrared camera from Adafruit running VC0706 chip, you want to know how to use it?

VC0706 serial camera
1. ssh into your Pi: ssh pi@192.168.1.111 (address of your Pi) then enter your usename and password.
2. Prepare your Raspberry Pi GPIO UART serial pins. Turn them off as serial console, so you can use it for devices.
sudo cp /boot/cmdline.txt /boot/cmdline_backup.txt
sudo nano /boot/cmdline.txt
dwc_otg.lpm_enable=0 console=ttyAMA0,115200 console=tty1 root=/dev/mmcblk0p2 rootfstype=ext4 elevator=deadline rootwait
Delete: console=ttyAMA0,115200
So your file will contain: dwc_otg.lpm_enable=0 console=tty1 root=/dev/mmcblk0p2 rootfstype=ext4 elevator=deadline rootwait
3. Connect your camera to the following pins
TxD is on pin 8, GPIO14 (serial output 3V3 logic), connect it with green wire of the camera
RxD is on pin 10, GPIO15 (serial input 3V3 logic), connect it with white wire of the camera
+5V connect to red wire
GND connect to black wire
Ignore the yellow and brown wires, these are for direct connection to your CCTV monitor.
4. Restart your device:
5. Download the following python code from LinuxCircle repo into your /home/pi folder: https://github.com/LinuxCircle/vc0706_camera
cd ~/
wget https://raw.githubusercontent.com/LinuxCircle/vc0706_camera/master/vc0706_cam_python3.py
6. In your pi home directory /home/pi/ create image folder for bigger size pics: mkdir hires
Create another image folder for smaller size pics: mkdir lores
7. Run the program: python3 vc0706_cam_python3.py
Refererence: https://learn.adafruit.com/ttl-serial-camera/overview
One thought on “Control serial infrared camera VC0706 with UART, Raspberry Pi and Python 3”
Comments are closed.


can you show me the picture how they connected?