
Adding plastic missile launcher to your Pi with relay and GPIO pins
MISSILE LAUNCHER?! Did I misread that? No, this is for real. We are not talking about the crazy rockets launched by flying drones, although it uses the same concept fundamentally. This toy comes from a spare part for V398 RC helicopter manufactured by WLtoys. It quite exciting that we decided…
Game programming: Your first pygame code!
Install pygame to Python 3. We don’t want to re-invent the wheels. Follow this tutorial to get pygame installed on your system: http://danielj.se/2012/06/16/how-to-install-pygame-to-python-3-on-ubuntu/ Once you got it all set up, type the following game in your editor, save it as hellogame.py, and run it with python3 hellogame.py import pygame, sys…
Raspberry Pi + Pololu Maestro + Python3 + Tornado + Servo Control Part 3
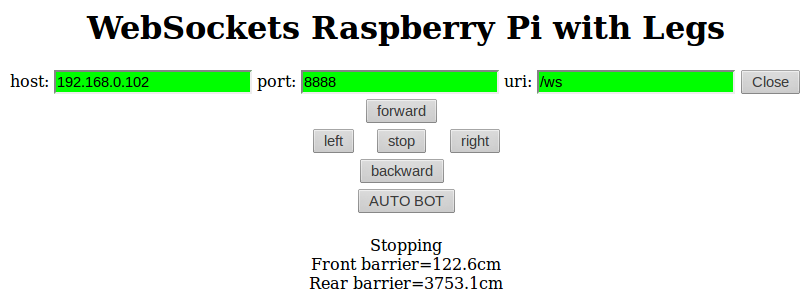
So we have all the backbone software ready as discussed in Part 2, now we want to create the interface. We basically need JQuery to handle the button interaction. Once a button is clicked, it will send a command to the server via WebSocket. The server needs to relay the…
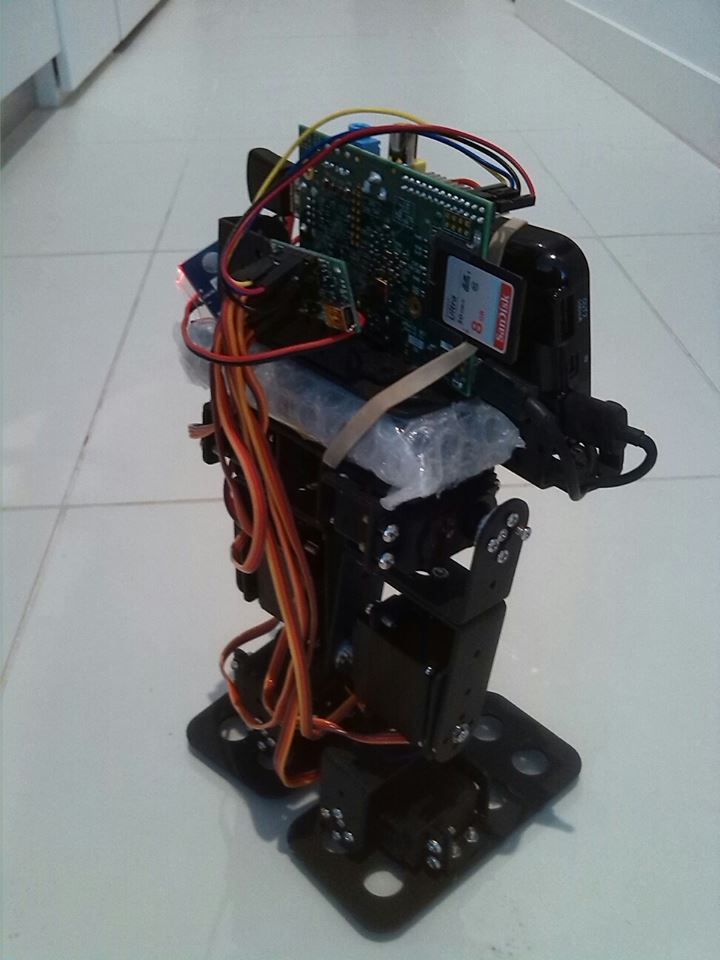
Raspberry Pi + Pololu Maestro + Python3 + Tornado + Servo Control Part 2
In Part 1 we discussed ways to connect all the hardware together. For there software component, there are 4 different technologies involved: Device.py, which provides byte commands to Pololu Maestro discussed previously. DeviceController.py, which provides servo control via function calls on the Device Driver object. TornadoServer.py, which serves the web…

Run NodeJS server on boot with forever on Raspberry Pi
LEGO Shop at Home: The World’s Biggest LEGO Shop Raspberry Pi is capable to host a NodeJS server. We want to use node’s forever module to keep our node server running, even when system restarts. Install forever Install forever and use the node app as root: sudo -i npm install forever -g Test run your nodeJS server app:…


