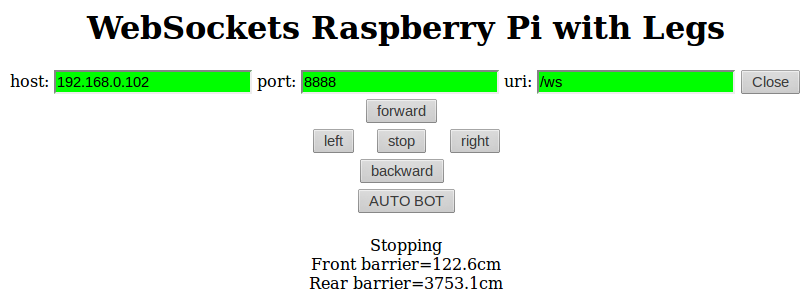
Raspberry Pi + Pololu Maestro + Python3 + Tornado + Servo Control Part 3
So we have all the backbone software ready as discussed in Part 2, now we want to create the interface. We basically need JQuery to handle the button interaction. Once a button is clicked, it will send a command to the server via WebSocket. The server needs to relay the…
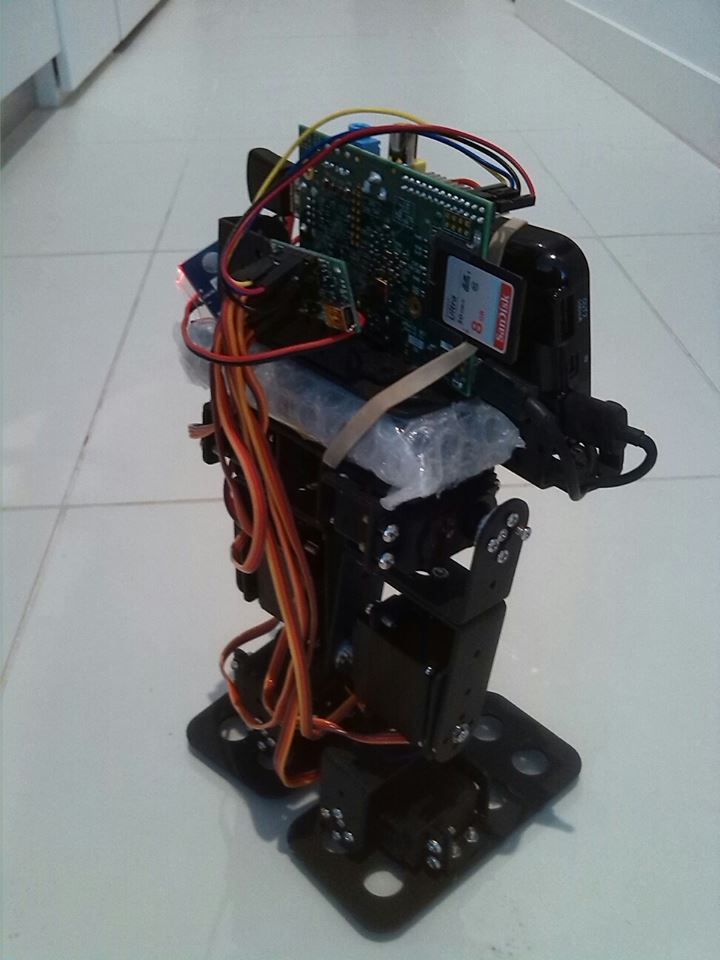
Raspberry Pi + Pololu Maestro + Python3 + Tornado + Servo Control Part 2
In Part 1 we discussed ways to connect all the hardware together. For there software component, there are 4 different technologies involved: Device.py, which provides byte commands to Pololu Maestro discussed previously. DeviceController.py, which provides servo control via function calls on the Device Driver object. TornadoServer.py, which serves the web…
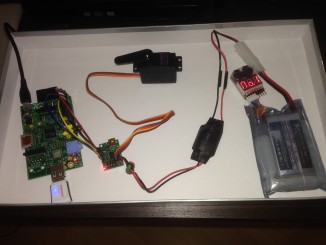
Raspberry Pi + Pololu Maestro + Python3 + Tornado + Servo Control Part 1
This tutorial will show you how to have the basic servo control using Raspberry Pi and Pololu Maestro. The implementation of the following instruction can be used for hand gripper, robot leg, or pan/tilt camera. Hardware list: Raspberry Pi Model A 256MB Pololu Maestro USB 6-Channel Servo Controller MG946R Towardpro…
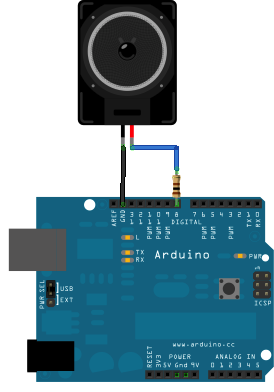
Playing “Mission Impossible” Tune on a Arduino with 2 Voices
Dear Arduinoists, Inspired by Dipto’s version of the Super Mario tune with two voice, I wanted to make my own tune. I had the notations of the MI-Theme for the easy piano lessons laying around, and I thought to myself, lets convert it. It was needed for a little game…
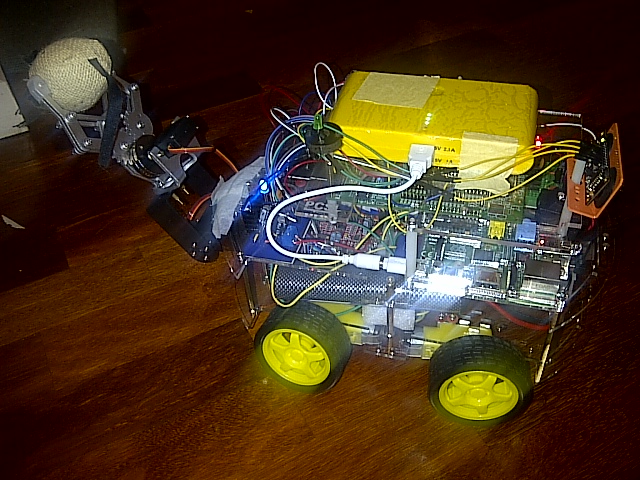
Robot Project Day 6 – Arduino Sketches for Robot Control
Previous: Day 5 – Power Supplies If you are familiar with Arduino IDE sketch, you could program simple commands to control the motors first. The most important thing to remember is that each motor controller is different, and each one would have a dedicated ports for you to connect up the…

